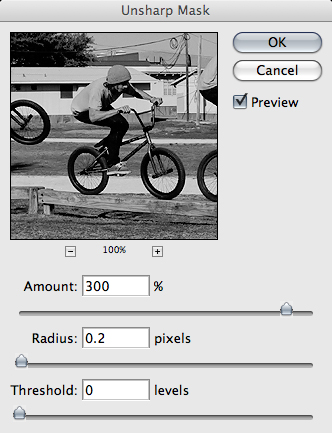
Sharpening an image should be the last adjustment you make before saving it.
As with most processes in Photoshop, there are many different ways to sharpen an image. This is just one way.
1. With your image open and ready to save, switch it to ‘Lab Color’
2. In your ‘Channels’ tab (which could be anywhere; the default is right behind the ‘Layers’ tab on the bottom right of the screen) select the ‘Lightness’ channel. This will make the image black and white.
3. Select the ‘Unsharp Mask’ in the ‘Filter’ menu, under ‘Sharpen’
4. The amount will vary, usually between 200% and 400%. Don’t overdo it. The radius should be 0.2 pixels, or 0.3 for larger images. Keep the threshold at 0 levels. 
5. Switch the image back to whatever mode you need it to be (‘RGB Color’ for most applications)
